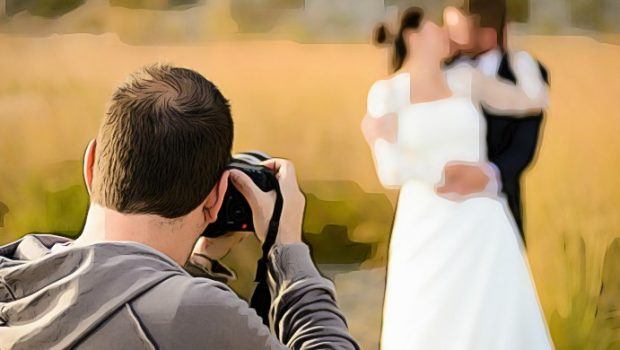
I. The Best Wedding Photo Tips For Taking Photo In The Wedding Day
Taking wedding photo is one of the most difficult assignments for all newbie photographers. There are a lot of problems and many stakes that can be increased incredibly high in the wedding day. To help all of them, I have compiled this full list of many wedding photo mistakes that all beginner photographers can make when starting out the shooting wedding, with some of the best wedding photo tips and Photoshop techniques for all beginner photographers avoid the common mistakes and become the professional photographers.
1. Scout The Location 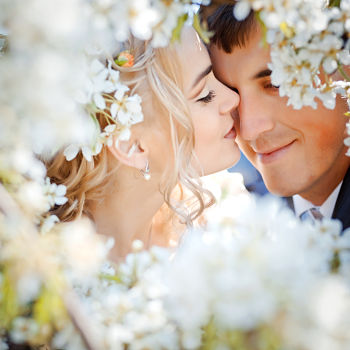
Before the important day, you and your partner should visit many different places where have many beautiful landscapes which help you take the best shoots. By this way, you can have many ideas of nice positions for all shots. Moreover, you can visit some locations to take some test shots before shooting day. People can check out digital wedding secrets guide to know more information about wedding photography.
2. Set Expectations With The Couple
You should show your customers how you work. In this chatting, you can find their wishes about the places, the number of shots, and the way you can satisfy them. You should make an agreement of places, price, and every thing before doing your works in their big day.
3. Shoot The Small Details
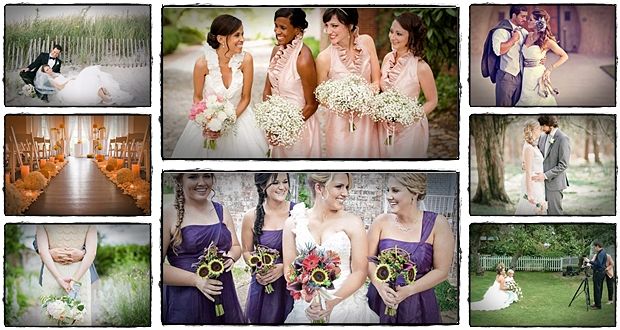
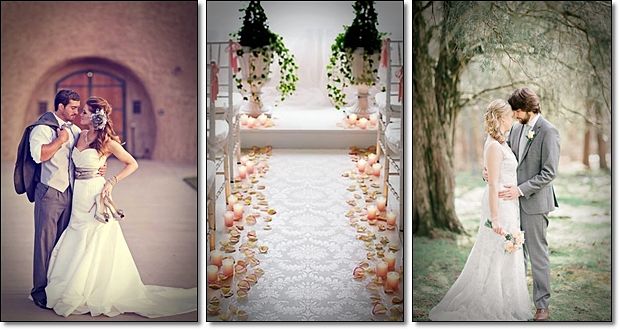
One of the best techniques for wedding photos is taking photo of all the small details such as rings, shoes, flowers, backs of dresses, menus, and table settings which can help give the end wedding album a new dimension. This can be a good little inspiration for a memorable and happy album.
4. Use Two Cameras
You should use two cameras with two different lenses. You should use a wide lens for the candid shots in the tight spaces and use the longer lens for the big photos of big family and picture for big group. By this method you can get the clear pictures with a lot of people inside in any time.
5. Streamline The Family Photos
You shouldn’t spend time on taking a big picture with both of two family members, such as grandparents, cousins, and siblings. So you should make a short list of family member who must be in the family picture, and then take a big family photo at the first time of wedding.
6. Shoot In Raw
Many people say that they don’t have a lot of time or effort for shooting in raw. However, a wedding day is perfect time which can give flexibility to all manipulate shots after shooting them. Weddings can show many photographers with the tricky lighting. All photographers need to manipulate the white balance and exposure, therefore, RAW can help them with this problem.
7. Consider Your Backgrounds
The best idea for the nice background in the wedding photos are uncluttered areas or shaded spots which are out of the direct sunlight where you can avoid a wandering great aunt walk into back of this shot.
8. Have Fun
Wedding is a happy time, so you should take all pictures in the fun. When you have fun with any picture you take, you can blow your fin in any picture. And the best method to loosen all people up in the wedding is smiling.
II. Wedding Photo Tips – Discover The Best Photoshop Tips 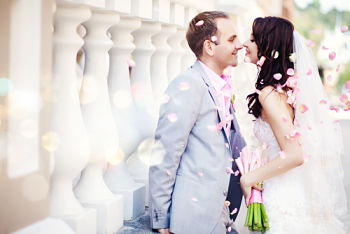
The wedding photography is about fun. When you combine all of them with the elegance and the touch of the sweet romance, you will be able to create a heck of the memorable collection. All the wedding pictures will tell about the happy story of the very big day for all generations, therefore, the good photographers have the most meaningful job to undertake. Luckily, this job can be easier for all newbie photographers by using al the best Photoshop effects for all wedding photos. With some simple tools that can add sophistication and style to all photos, you can edit the photos, and make sure that all special couples who just get marriage will have the most amazing album to show all people.
1. High Contrast White And Black
Sometimes when photographers convert a wedding image to white and black this photo will look flat. So if you want to improve this issue, you should add a special adjustment layer to improve the contrast. However, the bad news for you is that this layer sometime clips the shadows and highlights because of the wedding photos of the black tuxedos with the white dresses. Photographers will be able to use the special curves tool to improve the contrast in the pictures but they can get flat. The good news for all of these photos is that photo can fix the problem and it can be easier for them than tinkering with this special curves tool.
Here are all steps. First, you open a photo in black and white background. You will be able to use one of the tools you like to improve the contrast, and you should keep all the things simple, you go to use Brightness/Contrast. When you adjust the contrast, you should pay the attention to midtones and you shouldn’t worry about clipping which can occur in the highlights and shadows. You can increase the contrast to the maximum 100 or looking great in the simple midtones.
2. Adding A Dreamy Glam Effect
The fairy tale story of love deserves the fairy-tale styled pictures. There is no wicked witch and the evil stepmother can be involved in this special making of the magical scenes. You should follow this:
- You can choose a picture with a lot of colorful details in this picture, such some bride’s bouquest
- Then you make the duplicate this original image just click (ctrl + J)
- After that you can select the button of copy of this original image, and go to: Image, to Adjustment, to Desaturate
- Now you should blur this desaturated layer by going to: Filter, to Blur -> to Gaussian blur and then set this radius to about 7.
- And then you can set opacity of blurred layer to about 70 percent. This can give your image a good soft effect. By, this way the image ban be washes out and can get the dream-like appearance
- Now if you want to create some colors stand out, you can add a special mask to this blurred layer, and then hide these parts of photos to keep them in the original color. In this situation you can chose some bride’s bouquets, brides’ necklace or groom’s ring. After you add the mask to this layer, choose the brush, then set the color to the black, brush it over these parts to keep them in the original color
3. Wedding Couple In Wine Glass 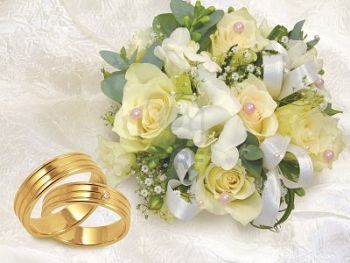
With the photoshop guide, you can look at the classic Photoshop effect for the wedding photography, and placing the couple inside the wine glass. This is easy Photoshop effect to make and you need only some basic photoshop tools, such as the layer mask, and some minute’s worth of your effort. You can finish off this effect with the advanced blending option.
The photographers can use these wedding photo tips to place the wedding images inside the glass objects, and the bottle. These wedding photo tips will also work well for placing all images inside the special bubbles. By this way, you can create a fun for all photos.
4. Recover Highlights
You can resurrect the lost highlight detail with some special highlight sliders in your camera raw or the lightroom.
The first of the good advantages of taking photo in raw is that you can recover the lost image’s highlights.
When talking to the weddings, the hug exposure headache is balancing out brides’ white dress with all the rest of scene or background.
If you get it wrong, so the bride’s dress can be blown out horribly. The Raw can give all newbie photographers a good extra special safety net in that they can use the whites, and highlights sliders in the Lightroom or the Camera Raw to recover missing all details in the blown-out highlights.
If you want to recover these details, you just open this image in the Lightroom or Camera Raw, and then you go to Basic panel. You can drag Highlights sliders to the left.
Alternatively, you can apply selectively this fix by painting with Adjustment Brush. To do this, you just grab this brush from toolbox, then you set the Highlights to -30 and you paint over any area you need to fix.
5. Fast Face Lightening
Faces will benefit from the quick lift. If you use the Lightroom, you need to brush them over with Adjustment Brush, and set to +0.3 Exposure. In this step of wedding photo tips, you can make a selection around all faces with Lasso tool, then click Shift+F6, then feather about 10px, and hit Cmd/Ctrl+M to curve slightly all lines.
6. Dodge And Burn
Burning and dodging can help you emphasize all details and draw all eyes towards target subject. This will affect colors though, so you click Cmd/Ctrl+J to duplicate the layer, and then change new Blend Mode layer to the Luminosity. You should set range of the Dodge tool to the Exposure and Highlights to 15%, and the range of the Burn tool to the Shadows. While using these tools, you should hold the button Shift to switch temporarily to the other.
There 14 useful wedding photo tips for all newbie photographers to get more beautiful wedding picture as the professional ones. If you like this post, you can share it with other people. And you like this topic; you can leave your comments at the end of my blog. I appreciate your contribution.
Want More Content Like This In Your Inbox?
- The Ballet Bible Book Review – Is Anita’s Book Useful?
- 13 Simple & Easy Recipes For Cupcakes For Beginners
- Home Made Power Plant Pdf Review – Can It Work?
- Mega Music Maker Review – Will Jamie’s Beat Maker Software Work?
- How To Draw A Dog Step By Step – Beginners’ Guide With Pictures
- Quick and easy Chinese food recipes for kids: 22 healthy dishes
- Mad about manga download review – is it reliable?
- Top 9 Methods On How To Treat Constipation In Dogs Naturally








 How to prevent global warming from getting worse
  Best Dresses For Body Types – Top 8 Tips Revealed From
  Rank builder 2.0 review – will Alex Goad’s program work for you?
  Evan Sharboneau’s Trick Photography And Special Effects Review
  Lap Dance Unleashed Review – Does This Dance Course Work?
  How To Avoid Jet Lag On International Flights Naturally
  Digital Wedding Secrets Review – Will Nick’s Program Work?
  Market Theme Download Review – Is It Reliable To Read?
  How to clean leather furniture and clothes – 8 tips
  Top 15 Tips To Improve Personality To Get Success Easily