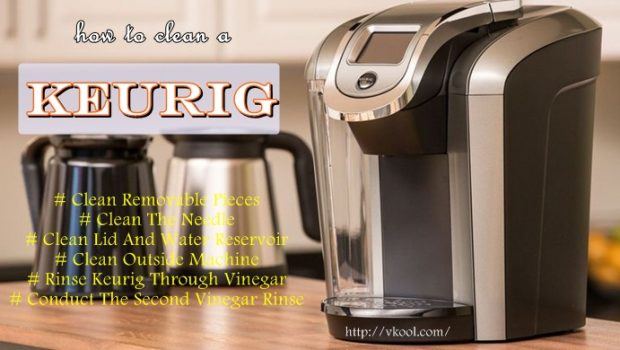
Keurig is a necessary stuff for those who love coffee and use it to make their drink on themselves. Because coffee is a healthy beverage without fat, it does not leave much dirt in Keurig after grinding. That means a general cleanness with water even not on a regular basis is believed to be enough for this machine. But it requires more careful cleanness and consequent maintenance than you expect indeed. You can easily find out that it gets grimy or grinds are retained in the K-Cup holder, and your reservoir does not smell fresh. These are the time of cleaning. At present, VKool.com would like to recommend 6 ways on how to clean a Keurig coffee maker with vinegar & water effectively. All of the suggested methods are natural and just require the carefulness when applying. For those who love coffee and use a Keurig to make their drink on their own, keep eyes on our article to know more useful ways to clean a Keurig effectively.
6 Ways On How To Clean A Keurig Coffee Maker With Vinegar & Water
As Keurig plays an important role in making a good drink as well as ensuring your health, knowing how to clean a Keurig is really essential. Cleaning the Keurig is just a simple process with general steps or another method with vinegar. Don’t worry because the process of cleaning Keurig is only advised to keep approximately 4 times a year, but it is really a deep and effective cleaning. Here are the best steps how to clean a Keurig coffee maker you should not miss:
1. Clean Removable Pieces
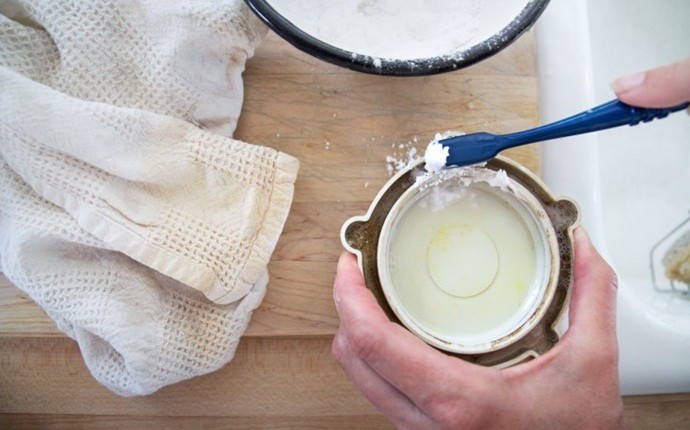
Doing something by yourselves like making coffee is sometimes a way of stress management, which requires Keurig to do and you are also responsible for keeping this machine cleaning all the time. Cleaning all the removable pieces of your Keurig is known as the first step on how to clean a Keurig. These pieces are considered as the tray, reservoir, and K-cup holder.
To start cleaning, you have to disassemble the brewer firstly. You have to lift the handle and take the K-Cup holder out to open its cover. The way to remove the K-Cup holder is using one hand to grab the holder’s top and the other to push up on its bottom from below so that the assembly is released. While removing the K-Cup holder, you should pay attention to the 2 sharp needles that can hurt you in case the assembly is haphazardly removed. You then disassemble the remaining pieces easily by pulling on the funnel till it is separated from the K-Cup holder and pulling the drip tray from the machine base.
Now is the detail of how to clean a Keurig with its holder, funnel, drip tray, and drip plate that all need a safe dishwasher. You can place them on the top dishwasher rack and set the machine at a standard wash in a combination of using some mild dish detergents.
If you want to do this by your hands, you can follow these directions:
- K-Cup holder: you can clean the K-Cup holder by rinsing it with warm to hot water. It is not necessary to add scrubbing or detergent but you should notice the caution to protect yourself from being damaged by the inside sharp needle. Alternatively, use a cloth or sponge to clean any remained grinds out of the holder.
- Funnel, drip tray, and drip plate: you should immerse them in hot soapy water then gently scrub with a non-abrasive cloth and finally rinse them well to eliminate the soap residue.
- Dry all pieces: You can leave them dry out on their own or use paper towels and dish towel to dry them more quickly.
Learn more: How to quit caffeine addiction without headaches – 12 practical tips
2. Clean The Needle
Cleaning the needle of the Keurig thoroughly is a step on how to clean a Keurig. There are 2 exit needles with 3 holes presented in the upper portions and inside bottom of the K-Cup holder. Getting rid of any debris in these holes is necessary, which can be done by placing a paper clip in each hole then conducting anything inside. Below are the detailed directions on how to clean a Keurig needle:
- As cocoa mix and coffee ground can be easily lodged in this exit needle, you should pay attention to this step in the process of cleanness.
- Insert a similar tool or straightened paper clip or into each hole, which is preferred to be 1 inch (approximately 2.5 cm) deep in the tube. You then wiggle it around in order to loosen and eliminate anything lodged inside.
- Notice: you cannot poke the needle from one side to the other as the opening of that needle is not at the top of the K-Cup but on its side.
See more: 15 Home Remedies For Splinters Removal
6 Useful Tips On How To Maintain Dreadlocks Naturally By Yourself
3. Clean Lid And Water Reservoir

Cleaning the removable lid and water reservoir is the next step on how to clean a Keurig. These parts of Keurig are not dishwasher safe so that they can be washed by hands with a non-abrasive cloth and normal water.
- Don’t use cleansers or detergents for these parts of Keurig because these chemicals, when used near the water reservoir, may contaminate the water supply of the later uses.
- Wipe out the lid and water reservoir with a wet cloth then rinse them with warm to hot water.
- Leave them dry out on their own or use a paper towel or clean dish towel to dry them more quickly.
Read more: 12 Tips on how to save water at home
4. Clean Outside Machine
After cleaning all the inside elements of Keurig, you have to clean the outside part of this machine. You should use a damp and non-abrasive cloth to scrub any dried coffee grounds or water stains on the brewer front.
Alternatively, you can use a soapy cloth to clean your machine more thoroughly. But remember to rinse off the soap residue later with a damp cloth or running water to keep your Keurig safe for using. And avoid immersing your entire brewer in water as this can damage your machine as well.
After completing all the steps on how to clean a Keurig, you have to reassemble the brewer to bring the machine a proper functioning. You will have to snap the funnel back on the K-Cup then put this K-Cup back in the Keurig. You then adjust the arrows on the K-Cup top and bottom with the arrows already placed on the machine. The lone tap on the front must be at the top and the 2 tabs on the front of the holder must be on the bottom. After that, press the top rim to keep it back into place. And finally slide the drip tray back into place till it clicks.
Learn more: 18 homemade stain removal tips for clothes are exposed
5. Rinse Keurig Through Vinegar
Using vinegar as a way on how to clean a Keurig is also effective. You have to conduct 2 cleaning times to get a thorough cleaning with the first step is running vinegar through the Keurig. You just pour undiluted vinegar in the water reservoir of the Keurig then brew it through the machine. The process is called descaling that is advised to do every quarter to half of a year. More clearly, descaling the brewer helps get rid of excess grime that sticks in the inside brewer. If the grime is left, it may give a serious negative effect on the ability of the brewer known as heating up and functioning properly.
During the process of rinsing the machine with vinegar, put a ceramic mug onto the drip tray to maintain the vinegar brewing through the Keurig and do not use the K-Cup as well. If you use a mini model, just pour about 300 ml undiluted white vinegar in the water reservoir then 5 seconds later lower the brewer handle and press the “Brew” button. This blue button will turn red and the vinegar will be brewed through your machine. But if you use a standard-size model, fill the water reservoir with 1500 ml of undiluted white vinegar then press the “Brew” button.
Read more: How to get rid of fishy smell in fish before cooking
6. Conduct The Second Vinegar Rinse
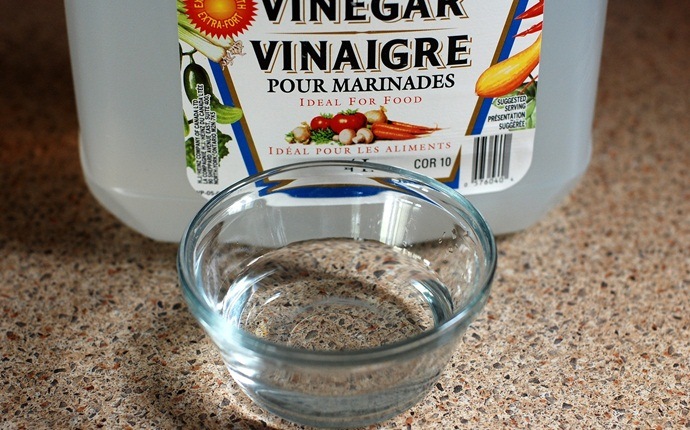
As mentioned above, it is necessary to do 2 times of cleaning a Keurig with vinegar. The process on how to clean a Keurig is similar to the initial rinse but the vinegar is allowed to sit longer so that the machine is descaled more thoroughly.
You also have to place a ceramic mug onto the drip tray as above and not use a K-Cup. The difference is that for a mini model, after pressing the “Brew” button and powering the Keurig down to dispense the vinegar, you have to leave the vinegar to stay 30 minutes in the brewer before powering it back and finishing the brewing cycle. And for a standard-size model, after pouring 1500 ml of undiluted white vinegar in the brewer and press the “Brew” button, you have to pause the process when “Add Water” is presented then keep the vinegar sitting for 4 hours in the brewer and finally dump the vinegar left after this time.
After rinsing your machine with vinegar, following a fresh water rinse is required on the way on how to clean a Keurig. You just have to run fresh water through the brewing cycle to remove any vinegar residue. A ceramic mug is also used as above and a K-Cup is also avoided. You then pour fresh and cold water in the water reservoir with the volume 300 ml for a mini model and 1500 ml for a standard-size one. Press the “Brew” button then let the brew cycle run as usual. Repeat water rinses 3 or more times to eliminate any vinegar taste left.
Learn more: 12 Useful ways on how to use apple cider vinegar for nail fungus
Recommended article: 11 Ways on how to unclog a drain naturally at home
With the article on 6 ways on how to clean a Keurig coffee maker with vinegar & water in our main Lifestyle page, hope that you can know more ways to clean your coffee making machine keep thoroughly by yourselves. Please leave any questions and comments below if you are concerned and share with us if you know other ways to clean a Keurig effectively.
Want More Content Like This In Your Inbox?
- Top 32 Foods Good For Stomach Ache & Stomach Ulcers
- List Of Bad Habits And Addictions: How To Break Them
- Ultimate Pull-Up Workout Review – Does This Program Work?
- 6 Easy Hearty Vegetarian Recipes Even Meat-Eaters Will Love
- Chris Farrell Membership Review – Does The Program Work?
- How To Stay Energized At Work And During The Holidays
- Top 12 Healthy And Tasty Low Sodium Recipes
- How To Dance Ballet For Beginners At Home – 13 Basic Rules



 How to live a healthy lifestyle and lose weight
  Famous & popular festivals in America – 9 interesting festivals
  How to declutter your life and reduce stress – 11 tips
  Hockey Training Blueprint Review – Is Maria’s Guide Useful?
  Luxury Wholesale Online Review – Is This Guide Helpful?
  How To Become A Flight Attendant – Top 11 Important Requirements
  How To Develop Emotional Intelligence – 11 Tips To Act Now!
  The Best Ways To Simplify Your Life And Mind
  List Of Bad Habits And Addictions: How To Break Them
  Beats365 Review – What Do You Get From This Beats Store?